Awhile back, I posted about my entryway organization. This space has served me well but I still felt it was lacking something. I had a place to write and posts notes, but I was annoyed with having to open the cabinet door (which usually had my purse hanging on it) just to get a post it or a pen. First world problem!
 |
| My entryway before. |
I didn’t want to clutter up the top of the cabinet because, a.) we use this space to entertain so I wanted to keep it streamlined for company, and b.) I like clear surfaces. I just do. What’s a girl to do? Turn to the internet, of course!
Since I wanted to leave the surface as clear as possible, I knew I would need to take to the wall. I checked good ol’ Google and Pinterest for some inspiring wall organizers. After waaaaayyy too many hours looking around, I found a couple of favorites. Please tell me I’m not the only one who wastes time by looking at pretty and organized spaces?
 |
| I love this one but for $425, I feel intense pain somewhere in my wallet. |
Real Simple had a great article featuring wall organizers.
 |
| Via here |
 |
| So much storage and function in so little space!. Via here. |
I have always lusted after the Daily System from Pottery Barn.
 |
| Hubba hubba. Via here. |
However, $54 for a magnetic whiteboard hurts me in my wallet as well. The basic parts of the system are inexpensive though. It’s just some memo boards with a few hooks and magnetic containers. I already had some of that in place.

I just needed to incorporate a place for pens, something with easy access to hold post it notes, and I liked the idea of a chalkboard too (especially since I had so much paint leftover after this project). I dug around my stash of organizing goodies to see what I could re-use, so I could keep the cost of this project near zero. This is one instance where my hoarding paid off!
I found a magnetic pocket, an unused 8x10 frame, some magnetic sheets (leftover from here), and a magnetic pen cup I was already using inside the cabinet. To create a spot for notes, pens, and what not, I simply taped the magnetic sheets to the glass of my rediscovered frame.

I didn’t like the orange polka dotted pocket, so I used a little glue to attach some scrapbook paper scraps.
 |
| This paper seemed fitting because I kind of have a travel theme going on in the dining room/entryway. |


Once the glue dried, I just put it all together. As luck would have it, the frame itself is magnetic too! So, I have that much more space to attach notes and junk.
 |
| I picked up the frame years ago from Target. |
Now, I needed a place to keep a running list of what was hiding in my entryway cabinet and any messages I might want to leave myself. As much as I love me some chalkboard, I can’t deny that white boards are easier to wipe clean. My “To Return” list is constantly changing, so it needs to be easy to erase items. But. . .chalkboard. . . is just cool. So, I met the two in the middle. Literally. I taped off the glass of my previously mentioned dry erase board (which is really just a frame with some pretty scrapbook paper) and I painted half of it with chalkboard paint.

A little tip for you, make sure you make a good seal with your painters tape. I used the handle of my brush to press down the edge of the blue tape. I’ve read that green Frog Tape is way better than the blue stuff, but I’m on a tight budget. Use what you’ve got to the best of your ability!

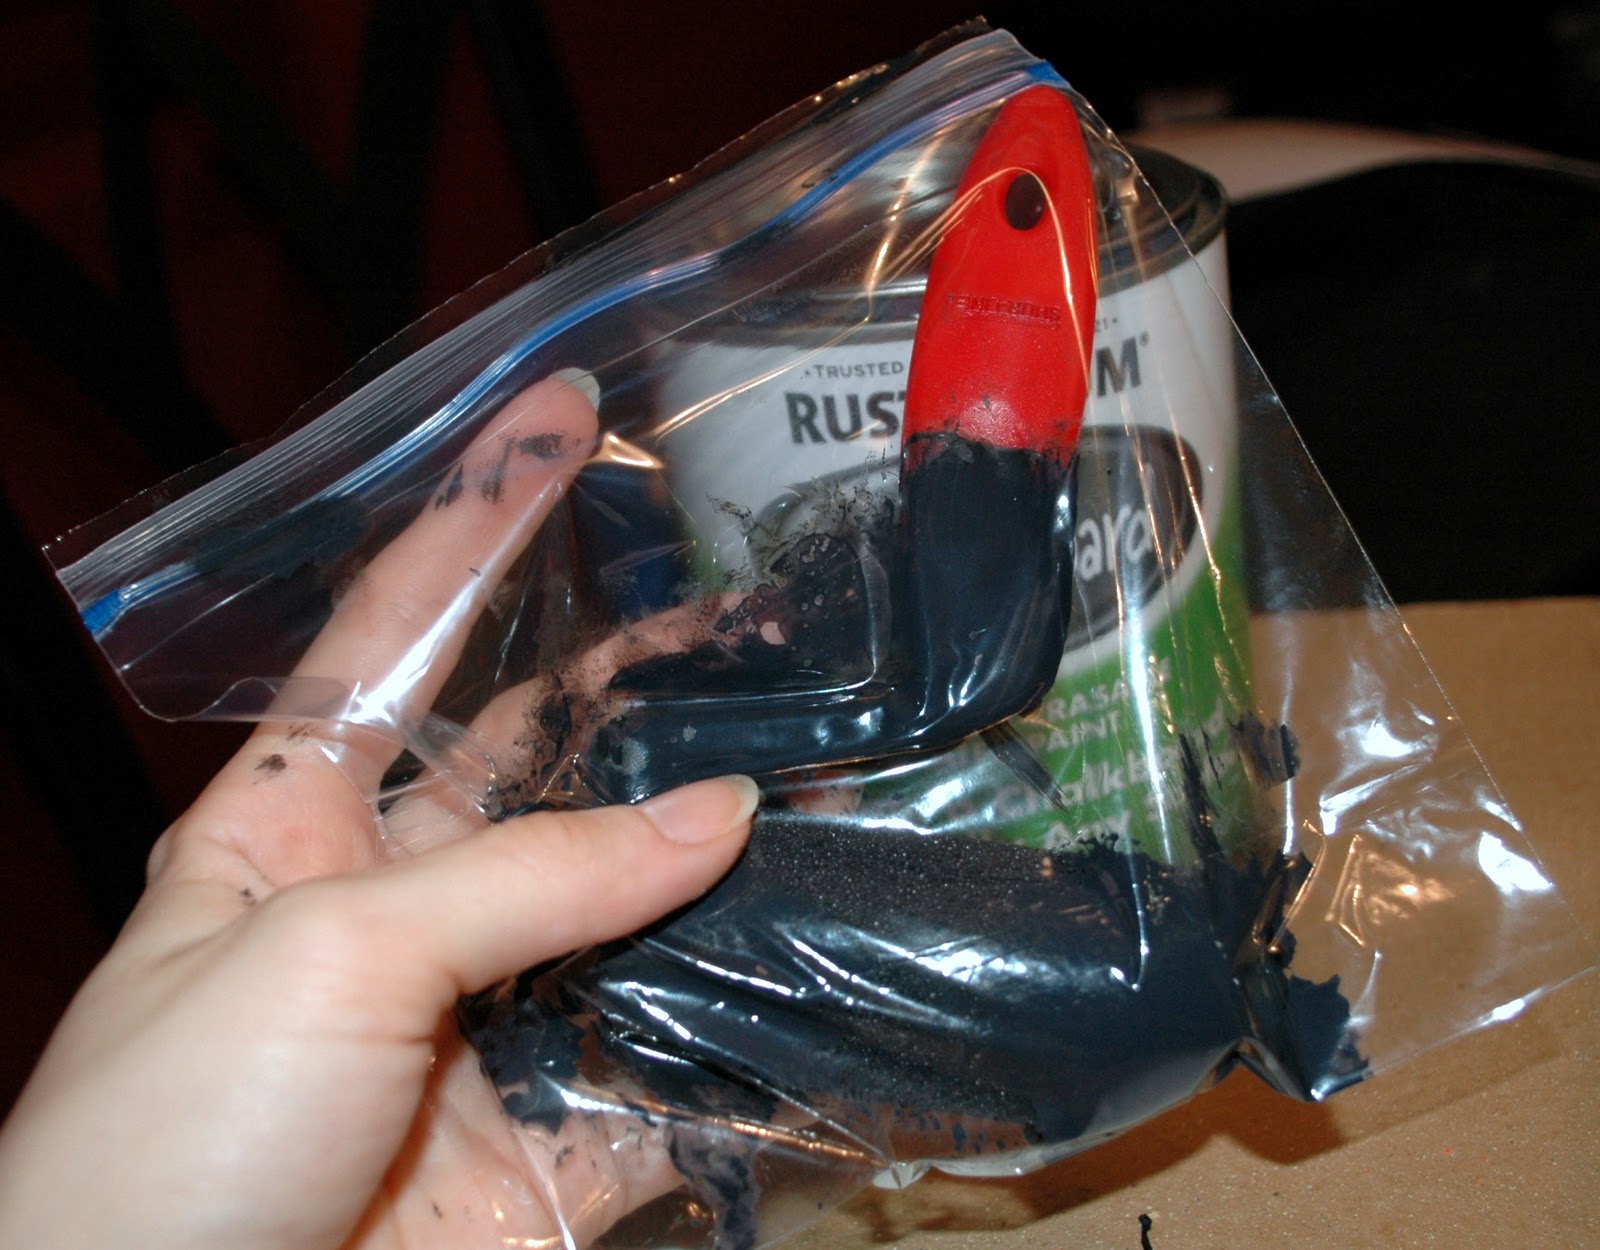
And yet another tip! I put my paint roller in a ziploc bag so I didn't have to wash it in between coats. This way, I didn't waste paint (not like I have a surplus or anything *sarcasm*) and it is one less thing to worry about. Make sure to squeeze all the air out of the bag before you seal it too!

Immediately after my second coat of chalkboard paint, I carefully pulled off the tape. This is to ensure I wouldn’t accidentally peal off some paint too when it dried.
 |
| That there’s a nice paint line! |
After the paint was completely dry, I popped the glass back into my frame and finished my little entryway tweak.


 |
I picked up this little wooden bowl from World Market for about $2. I can't find it online. Anyone have a link? I know my keys are a little big for it but the bowl leaves a small footprint.
Since I’m not allowed to make lots of holes in the walls, I propped the frames up on the cabinet. No hanging required. Because of the molding in the dining room, the cabinet doesn’t sit flush against the wall. To avoidlosing my memo boards to the abyss having my memo boards fall behind the cabinet, I used some extra metal inserts from an under the sink organizer to create a little shelf of sorts.
Since I’m not allowed to make lots of holes in the walls, I propped the frames up on the cabinet. No hanging required. Because of the molding in the dining room, the cabinet doesn’t sit flush against the wall. To avoid
 |
| Metal inserts are from one of these. These are totally awesome, by the way. |
There you have it! A system that is similar (well, in function anyway) to the uber-pricey Pottery Barn System but it only cost me, wait for it. . . wait for it. . . . $0. Yup. $0. I was able to assemble this with nothing but materials on hand. If don’t have anything like these stashed away, it still wouldn’t cost much to buy the materials.
I don’t remember prices for a lot of these items but I do remember where I purchased them. I’m weird like that.
Frame (magnetic one) – Target - Around $13
Memo board frame – Goodwill
Polka dot magnetic pocket – Target (stationary section)
Metal sheets – Hobby Lobby - $3.50 (with a 40% off coupon)
Chalkboard paint – Wal-Mart (STILL have ¾ of a can left)
Magnetic pen cup – Wal-Mart (was with a magnet board set)
Magnets – Etsy
Unfortunately, some of these items aren’t available any more but I’m sure you could find/repurpose something comparable.
I’m still debating if I should paint the frames and, if so, what color. Should I paint them cream so they pop against the red? Maybe give them a good coat of ORB, but would that give me ORB overload since a lot of items in this space are that color? Maybe a bright accent color? I just don’t know. Until I know for sure, I plan on leaving them as is. If I change anything, I’ll let you know because I know you will be waiting with bated breath!


